
 安装 Docker
欢迎来到我的 ChatGPT 中转站,极具性价比,为付费不方便的朋友提供便利,有需求的可以添加左侧 QQ 二维码,另外,邀请新用户能获取余额哦!最后说一句,那啥:请自觉遵守《生成式人工智能服务管理暂行办法》。
# 准备工作
- 达标的硬件标准
- VMware 虚拟机
- Centos (opens new window) 7 以上(包含) 或者 Ubuntu (opens new window) 18.04 以上(包含) 的安装镜像
- 均已获取 ROOT 权限
# Ubuntu 安装 Docker
# 只针对 18.04 及其以下版本
# 由于apt官方库里的docker版本可能比较旧,所以先卸载可能存在的旧版本:
sudo apt-get autoremove docker docker-ce docker-engine  docker.io  containerd runc
# 更新apt包索引:
sudo apt-get update
# 安装以下包以使apt可以通过HTTPS使用存储库(repository)
sudo apt-get install -y apt-transport-https ca-certificates curl software-properties-common
# 添加Docker官方的GPG密钥:
curl -fsSL https://download.docker.com/linux/ubuntu/gpg | sudo apt-key add -
# 这个时间点(2018.06.09),Ubuntu 18.04 LTS (Bionic Beaver) 对应的docker package is not available,所以只能通过下面的语句安装stable存储库
sudo add-apt-repository "deb [arch=amd64] https://download.docker.com/linux/ubuntu artful stable"
# 再更新一下apt包索引
sudo apt-get update
# 查看系统可用的版本
apt-cache madison docker-ce
# 选择要安装的docker18.06.3-ce,通过上面命令查询出来
sudo apt-get install docker-ce=18.06.3~ce~3-0~ubuntu
# 查看docker服务是否启动
systemctl status docker
# 若未启动,则启动docker服务
sudo systemctl start docker
# 开机自启docker
sudo systemctl enable docker
# 测试经典的hello world
sudo docker run hello-world
1
2
3
4
5
6
7
8
9
10
11
12
13
14
15
16
17
18
19
20
21
22
23
24
25
2
3
4
5
6
7
8
9
10
11
12
13
14
15
16
17
18
19
20
21
22
23
24
25
# 22.04 版本通过测试
## 更新系统并安装依赖包
sudo apt update
sudo apt upgrade -y
sudo apt install -y ca-certificates curl gnupg lsb-release
## 添加 Docker 的官方 GPG 密钥
sudo mkdir -p /usr/share/keyrings
curl -fsSL https://download.docker.com/linux/ubuntu/gpg | sudo gpg --dearmor -o /usr/share/keyrings/docker-archive-keyring.gpg
## 添加 Docker 的 APT 软件源
echo "deb [arch=$(dpkg --print-architecture) signed-by=/usr/share/keyrings/docker-archive-keyring.gpg] https://download.docker.com/linux/ubuntu $(lsb_release -cs) stable" | sudo tee /etc/apt/sources.list.d/docker.list > /dev/null
## 更新 apt 软件包索引
sudo apt-get update
## 查看系统可用的版本
apt-cache madison docker-ce
## 选择要安装的docker18.06.3-ce,通过上面命令查询出来
sudo apt-get install docker-ce=18.06.3~ce~3-0~ubuntu
# 查看docker服务是否启动
systemctl status docker
# 若未启动,则启动docker服务
sudo systemctl start docker
# 开机自启docker
sudo systemctl enable docker
# 测试经典的hello world
sudo docker run hello-world
1
2
3
4
5
6
7
8
9
10
11
12
13
14
15
16
17
18
19
20
21
22
23
24
2
3
4
5
6
7
8
9
10
11
12
13
14
15
16
17
18
19
20
21
22
23
24
# *** Centos 安装 Docker
# 通过 uname -r 命令查看你当前的内核版本
uname -r
# root权限更新Yum包(linux命令不熟悉的同学本文建议使用root权限登陆安装docker,省去很多不必要麻烦)
yum update
#卸载旧版本:(如果安装过旧版本的话)(旧版名称是docker , 最新社区版 docker-engine, 目前已改名为docker-ce)
yum -y remove docker docker-common docker-selinux docker-engine
#安装 yum-utils , 使用 yum-config-manager 工具设置Yum源, 后面两个是 devicemapper驱动依赖
yum install -y yum-utils device-mapper-persistent-data lvm2
#执行以下命令,添加docker的yum源,此处可能会报错 (原因是国内访问不到docker官方镜像的缘故)
yum-config-manager --add-repo https://download.docker.com/linux/centos/docker-ce.repo
#解决方法,使用阿里源访问
yum-config-manager --add-repo http://mirrors.aliyun.com/docker-ce/linux/centos/docker-ce.repo
#查看所有仓库中docker版本,并选择特定版本安装:(此处我们查看社区版 docker-ce)
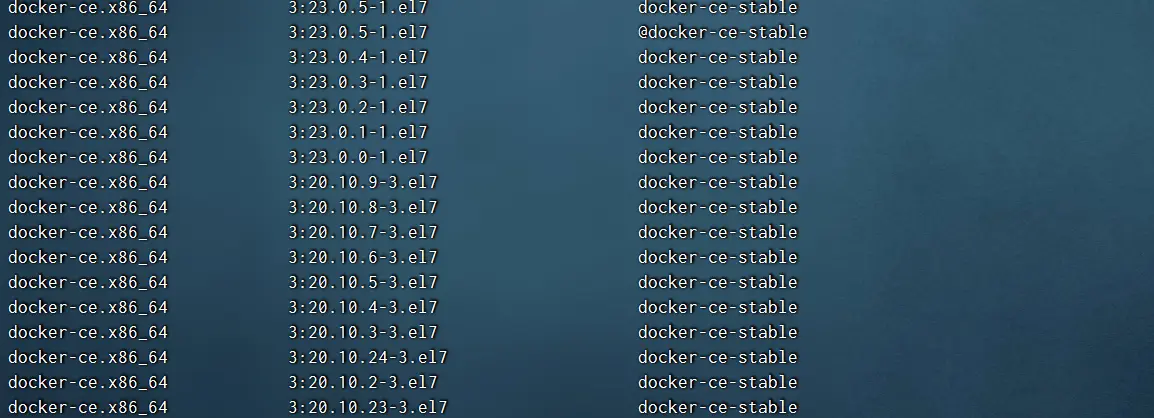
yum list docker-ce --showduplicates | sort -r
1
2
3
4
5
6
7
8
9
10
11
12
13
14
2
3
4
5
6
7
8
9
10
11
12
13
14
# 安装
# 这是由于Docker版本号的不同导致的。在Docker的版本号中,前缀数字表示主要版本号,后面的数字表示次要版本号。在某些情况下,版本号中可能会包含一个类似“3:”或“17.”的前缀数字,它表示映像或软件包的epoch值。Epoch值是用来区分软件包历史中的版本变化的一种机制,它可以将新版本的软件包与旧版本的软件包区分开来。因此,如果您看到docker-ce版本号中的前缀数字,它只是epoch值,而不是主要版本号。
yum install docker-ce-23.0.5-1.el7
# 查看docker服务是否启动
systemctl status docker
# 若未启动,则启动docker服务
systemctl start docker
# 开机自启docker
systemctl enable docker
# 测试经典的hello world
docker run hello-world
1
2
3
4
5
6
7
8
9
10
11
2
3
4
5
6
7
8
9
10
11
# 其他安装方式
请看阿里云官方安装教程:https://developer.aliyun.com/article/110806
上次更新: 2025/09/02, 06:01:00